A.P. Creditor Pre-payments
This process creates payables transactions based on pre-payment and deposit terms that have been set up against creditors. Detail on setting pre-payment or deposit terms against creditors is covered in the Accounts User Manual.
When pre-payment or deposit details are set up for a supplier, the deposit amount (as a percentage or fixed amount) and the payment due terms of pre-payments are known.
Pre-payments are those where the standard payment terms defined against a Supplier include the word prior—i.e. number of Days Prior to Travel or number of Days Prior to Service.
A deposit is a partial payment amount that is made in advance of the service being used and is controlled by the Deposit Terms check-box in the supplier currencies screen, the terms of the deposit, and the type of deposit (percentage or amount).
Example Supplier Currency Screen - Deposit Terms Applied
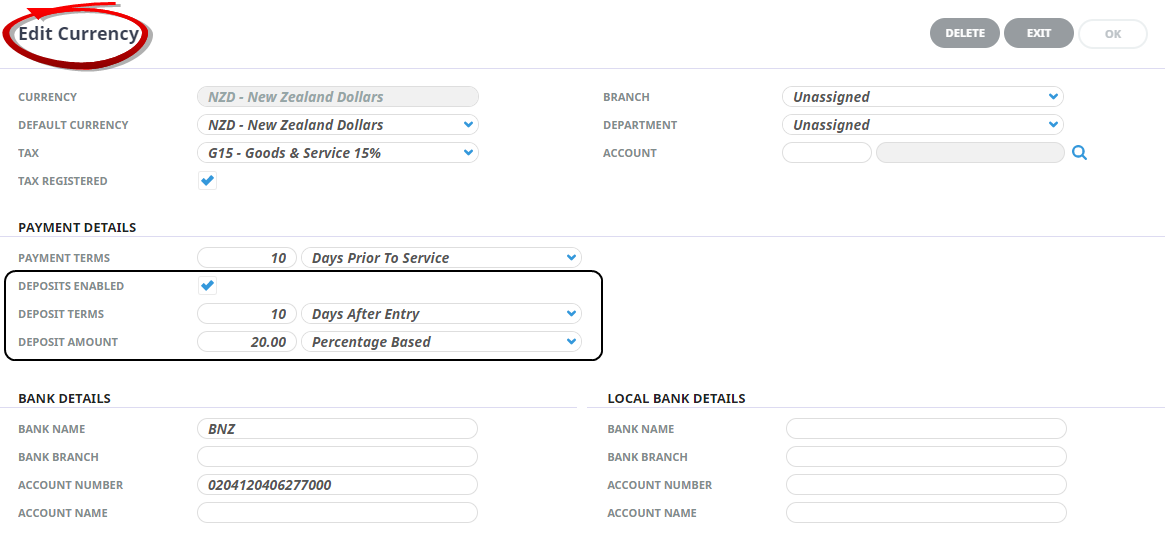
For this supplier, the normal payment terms are 10 Days Prior to Service. Deposit terms have been applied which require a 20% deposit to be paid 10 Days after the Service has been entered into the system.
The Pre-payment process uses the Payment Terms 2 and the Deposit Terms 2 fields that have either "Prior to Service", "Prior To Travel", "Days After Entry" or "Days After Travel" in them to locate and calculate deposit payments and full payment based on the settings and then creates the appropriate creditors invoice transactions to generate the payments.
This process will find service lines in bookings that meet the pre-payment or deposit criteria and create a creditors invoice transaction for the pre-payment/deposit amount. The invoice transactions created can be included in a standard cheque payment run.
NOTE: Only those booking services that a) meet the selection criteria entered in the Creditor Pre-payments screen and b) have a service status that permits accounting transactions to be entered against the line. And c) the booking status allows accounting transactions, will be selected.
Process Pre-payments
-
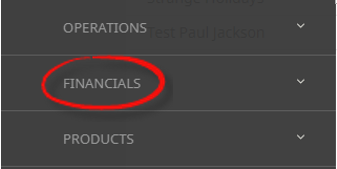
From the Home menu, select
 Financials > Accounting > Accounts Payable > Process Prepayments.
- Click the Home Menu to expand it:

- Click the Financials menu option to expand it:

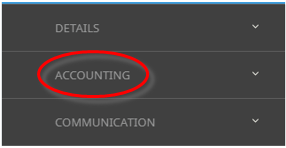
- Click Accounting to go to the Accounting menu to expand it:

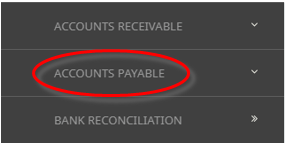
- Click Accounts Payable to go to the Accounts Payable menu to expand it:

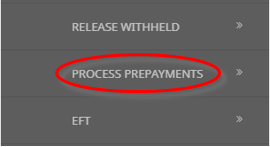
- Click Process Prepayments to go to the Process Prepayments screen:

- Click the Home Menu to expand it:
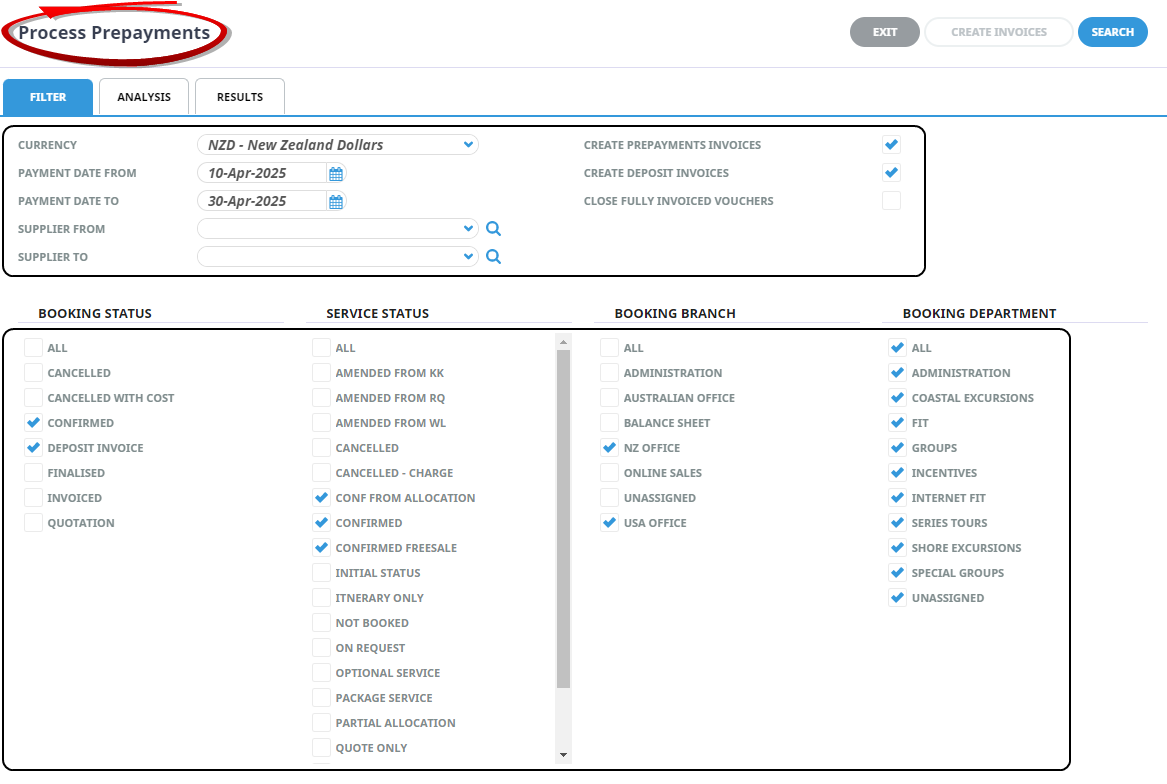
- The Process Prepayments screen will open with the Filter Tab open.
- On the Process Prepayments Filter Tab, enter the required filters to set the Prepayments search criteria, selections can be filtered by:
- Currency (Mandatory)
- Payment Date From/To
- Supplier From/To
- Keeping with Process Prepayment Filter Tab select by All, or specific Booking Statuses, Service Statuses, Booking Branches and Booking Departments.
- Check the Completed Screen.
-
Select the Analysis Tab, and if required filter by the Supplier Branch, Supplier Department and the 6 Analysis Codes attached to the Supplier.
When the Analysis Tab is accessed, the available selections are in collapsed mode. Click the
 to expand the selections and the
  to expand a drop-down.NOTE: This is the Branch and Department of the Supplier, not the Booking.For example:
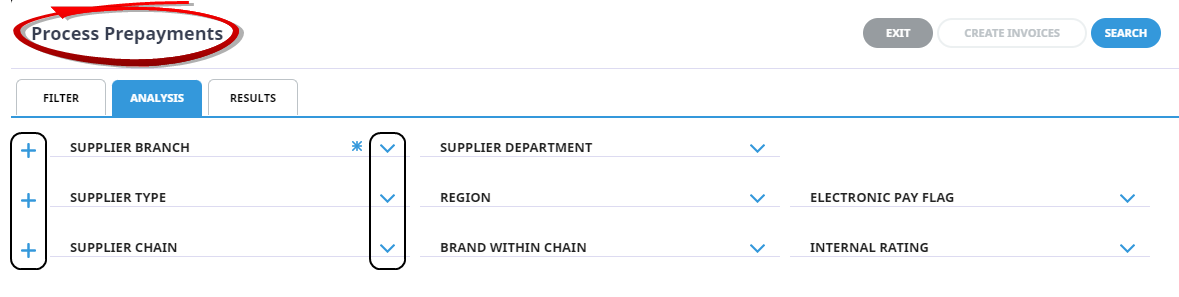
NOTE: When a selection has been made with an Analysis Code, and the selections are collapsed, an * appears next to the Analysis Code name.
-
When selections have been completed, clickSearch to display results.

-
Or select theResults Tab. Any booking services found that meet the search criteria will display.
.png)
NOTE: The
 to the left of the Select All/Unselect All can be used to hide the side panel. When the side panel is hidden, the Right Arrow is replaced by a Left Arrow
  which can be used to reveal the panel.
-
-
ClickSelect All to select all booking services.

-
Or, Select the booking services to include in the remittance by clicking the requiredcheck-box(es), and check the Selected For Invoicing check-box.
.png)
NOTE: A Messages section will display below the Vouchers section if (e.g.) if the Cash balance of the booking is insufficient to create and pay the invoice. The message is a warning only and does not prevent invoice creation.
-
- Check the Completed Screen.
-
ClickCreate Invoices.

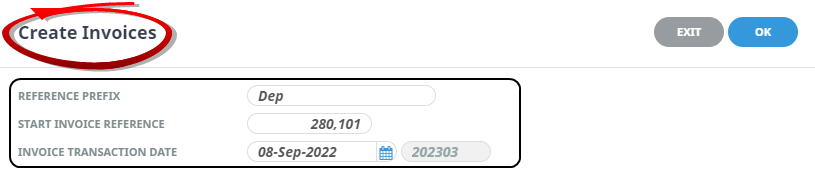
- The Create Invoices Screen will display.
-
Enter aReference Prefix(if required), Start Invoice Reference and select the Invoice Transaction Date.
-
ClickOK to keep the changes and save or update the entry.

-
ClickExit to discard any changes.


.png)
About Process Prepayments Fields
- Filter Tab
Selections can be filtered by Currency, Payment Date From/To, Supplier From/To and by all or specific Booking Statuses and/or Service Statuses and by all Booking Branch and/or Booking Department.
NOTE: The Currency is the minimum selection that can be made before the Search button becomes active.
- Analysis Tab
When the Analysis Tab is accessed, the available selections are in collapsed mode. Click the to expand the selections and the to expand a drop-down.
NOTE: If a selection is made using any of the analysis fields, an * appears next to the Analysis Name.
- Results Tab
When selections have been completed, click the blue Search button or the Results tab and any booking services found that meet the search criteria will display under the Results Tab.
The screen is in three sections. Any service details which match the filter criteria display in rows on the left of the screen and show the Voucher Number, Service Date, Booking Name, Booking Reference, Supplier Code, Currency, Cost Amount and Invoice which is the value of the invoice that will be generated by this process.
NOTE: The invoice values may vary from what is expected. This is because there may have been a previous payment made, or the time frame between the payment due dates and the service dates may mean that full payment is being generated etc.
Voucher Details Section
Selected for invoicing - Checking this box will select the vouchers for invoicing.
Close Voucher - Checking this box will close the voucher. Where a full payment is being made or the sum of the 'previous Invoice' plus "invoice fields is equal to or greater than the cost field, the voucher will be closed.
The remaining fields under the Voucher Details section show Voucher Number, This Invoice amount, Voucher Amount, any amounts Already Invoiced, and the amount calculated as owing.
Vouchers
The Voucher section on the right of the screen shows the values of the currently highlighted invoice line.
To generate the creditor invoice(s) for the selected line(s), click the blue Create Invoices button.
NOTE: Because the payments being created are pre-payments or deposits, generally no invoice has been received from the supplier. This means that a meaningful user decided invoice reference will need to be entered into these fields.
About Create Invoices Fields
Reference Prefix
The invoice reference can be made up of two components - a prefix (if required) and the Invoice Reference.
Start Invoice Reference
The second portion of the reference allows a numeric reference value to be entered.
NOTE: When there is more than one transaction generated, Tourplan will increment the invoice Reference by 1 for each supplier invoice generated.
Invoice Transaction Date
The transaction date for the invoices. This will determine the transaction period which will display in the field to the right of the transaction date.
Prepayments Summary
When completed, a summary screen displays.
Supplier Code - The 6 character Supplier code.
Reference - This reference number is made up from the Reference Prefix and the start invoice reference number given in the create invoices screen.
Invoice - The amount of the generated invoice.
Error- Any processing errors will display in this column.
Successful Operations - Shows the number of invoices processed successfully.